iOS-UITableView使用指南
 Sugar
SugarUITableView使用指南
概述
一般遇到大量相同结构的视图进行同一方向排列时,比如一般app的设置页面、通讯录等,使用UITableView是一个非常合适的方案。
基本介绍
风格样式:
这个属性是UITableView最基本的属性,共有两种
-
UITableViewStylePlain:默认样式
-
在 plain 模式下,如果 tableview 有多个 section(分区、分组),组与组之间默认是没有间距的。
-
同时组头或组尾会有 sticky 效果(粘性效果、悬停效果),即表格滚动时组头与组尾会自动停留,而不是跟随单元格一同移动。
-
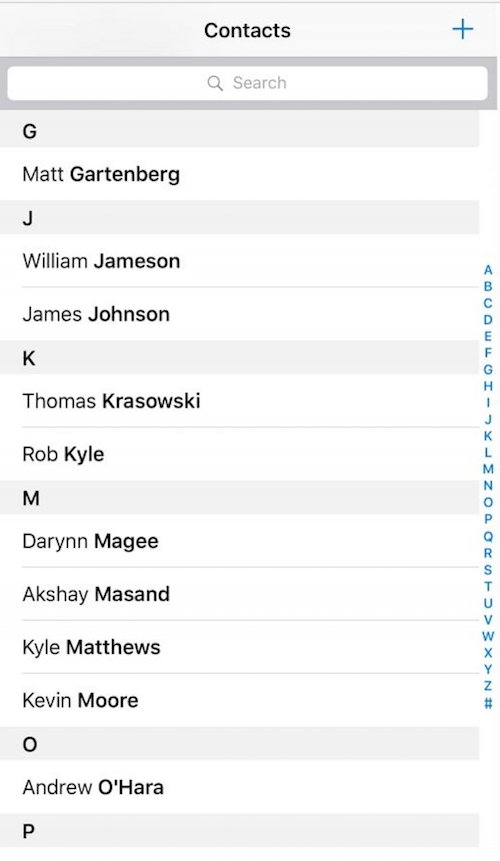
同时plain模式下的tableView可以有一个section索引,作为一个bar在table的右边(例如A ~ Z)。你可以点击一个特定的标签,跳转到目标section。
-
例如:iOS中「通讯录」就是典型应用
-
-
UITableViewStyleGrouped:分组样式
-
在 grouped 模式下,如果 tableview 有多个 section,组与组之间默认是有间距的。
-
在表格滚动的同时组头与组尾会随之滚动、不停留,不会有 sticky 效果(粘性效果、悬停效果)。
-
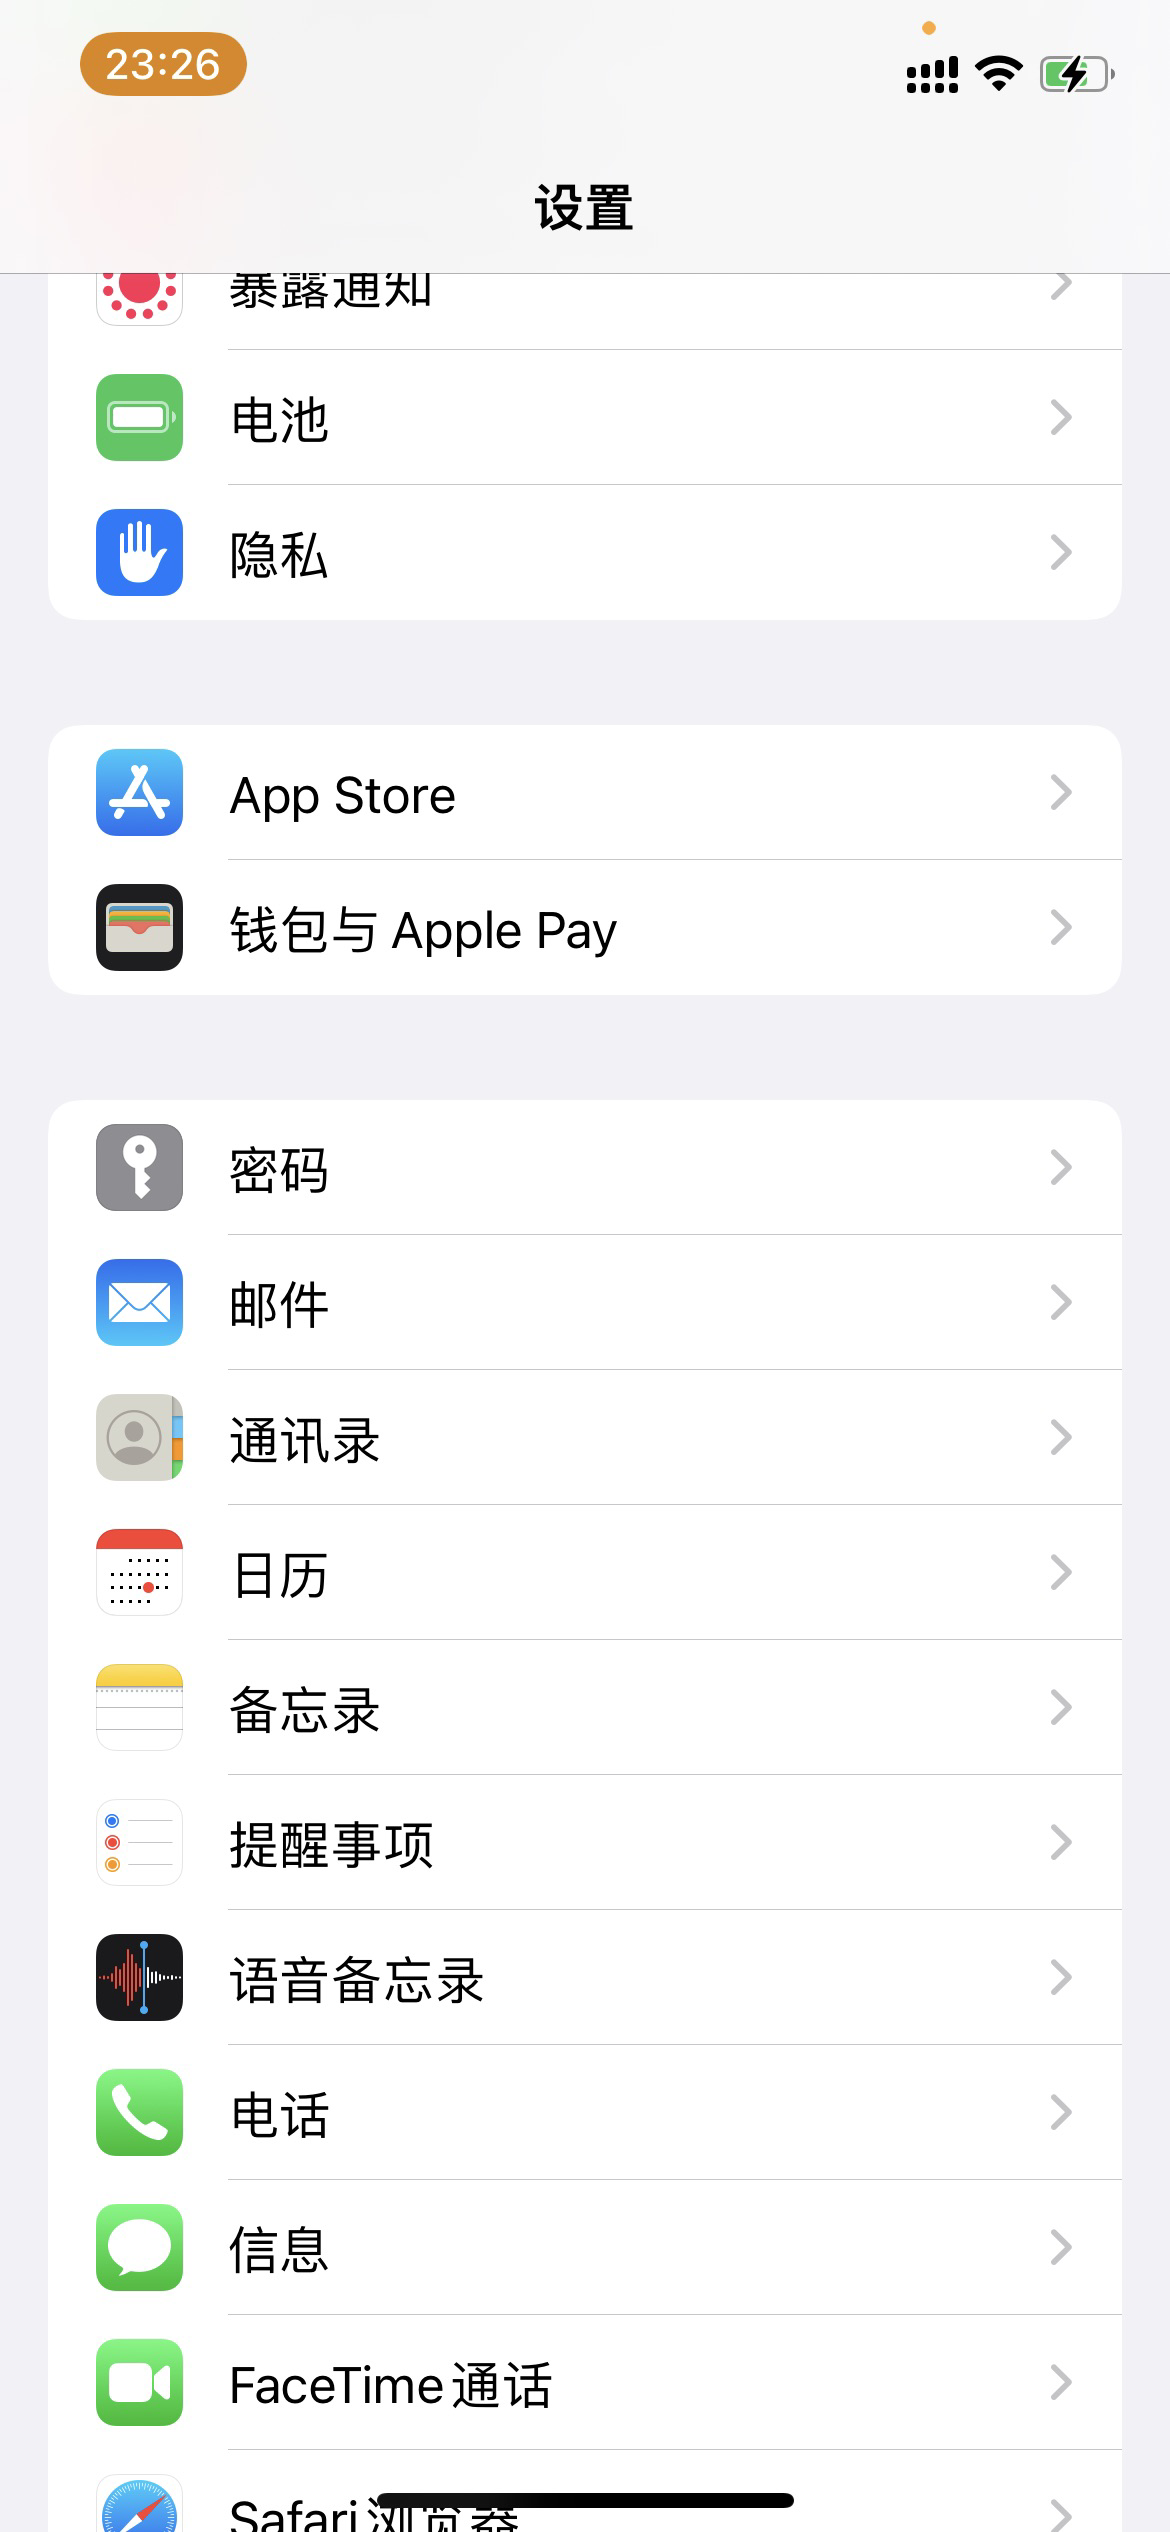
Group类型默认设置tableView灰色背景色,cell为白色背景色,section外边缘设置浅灰色边框,cell设置浅灰色间隔线
-
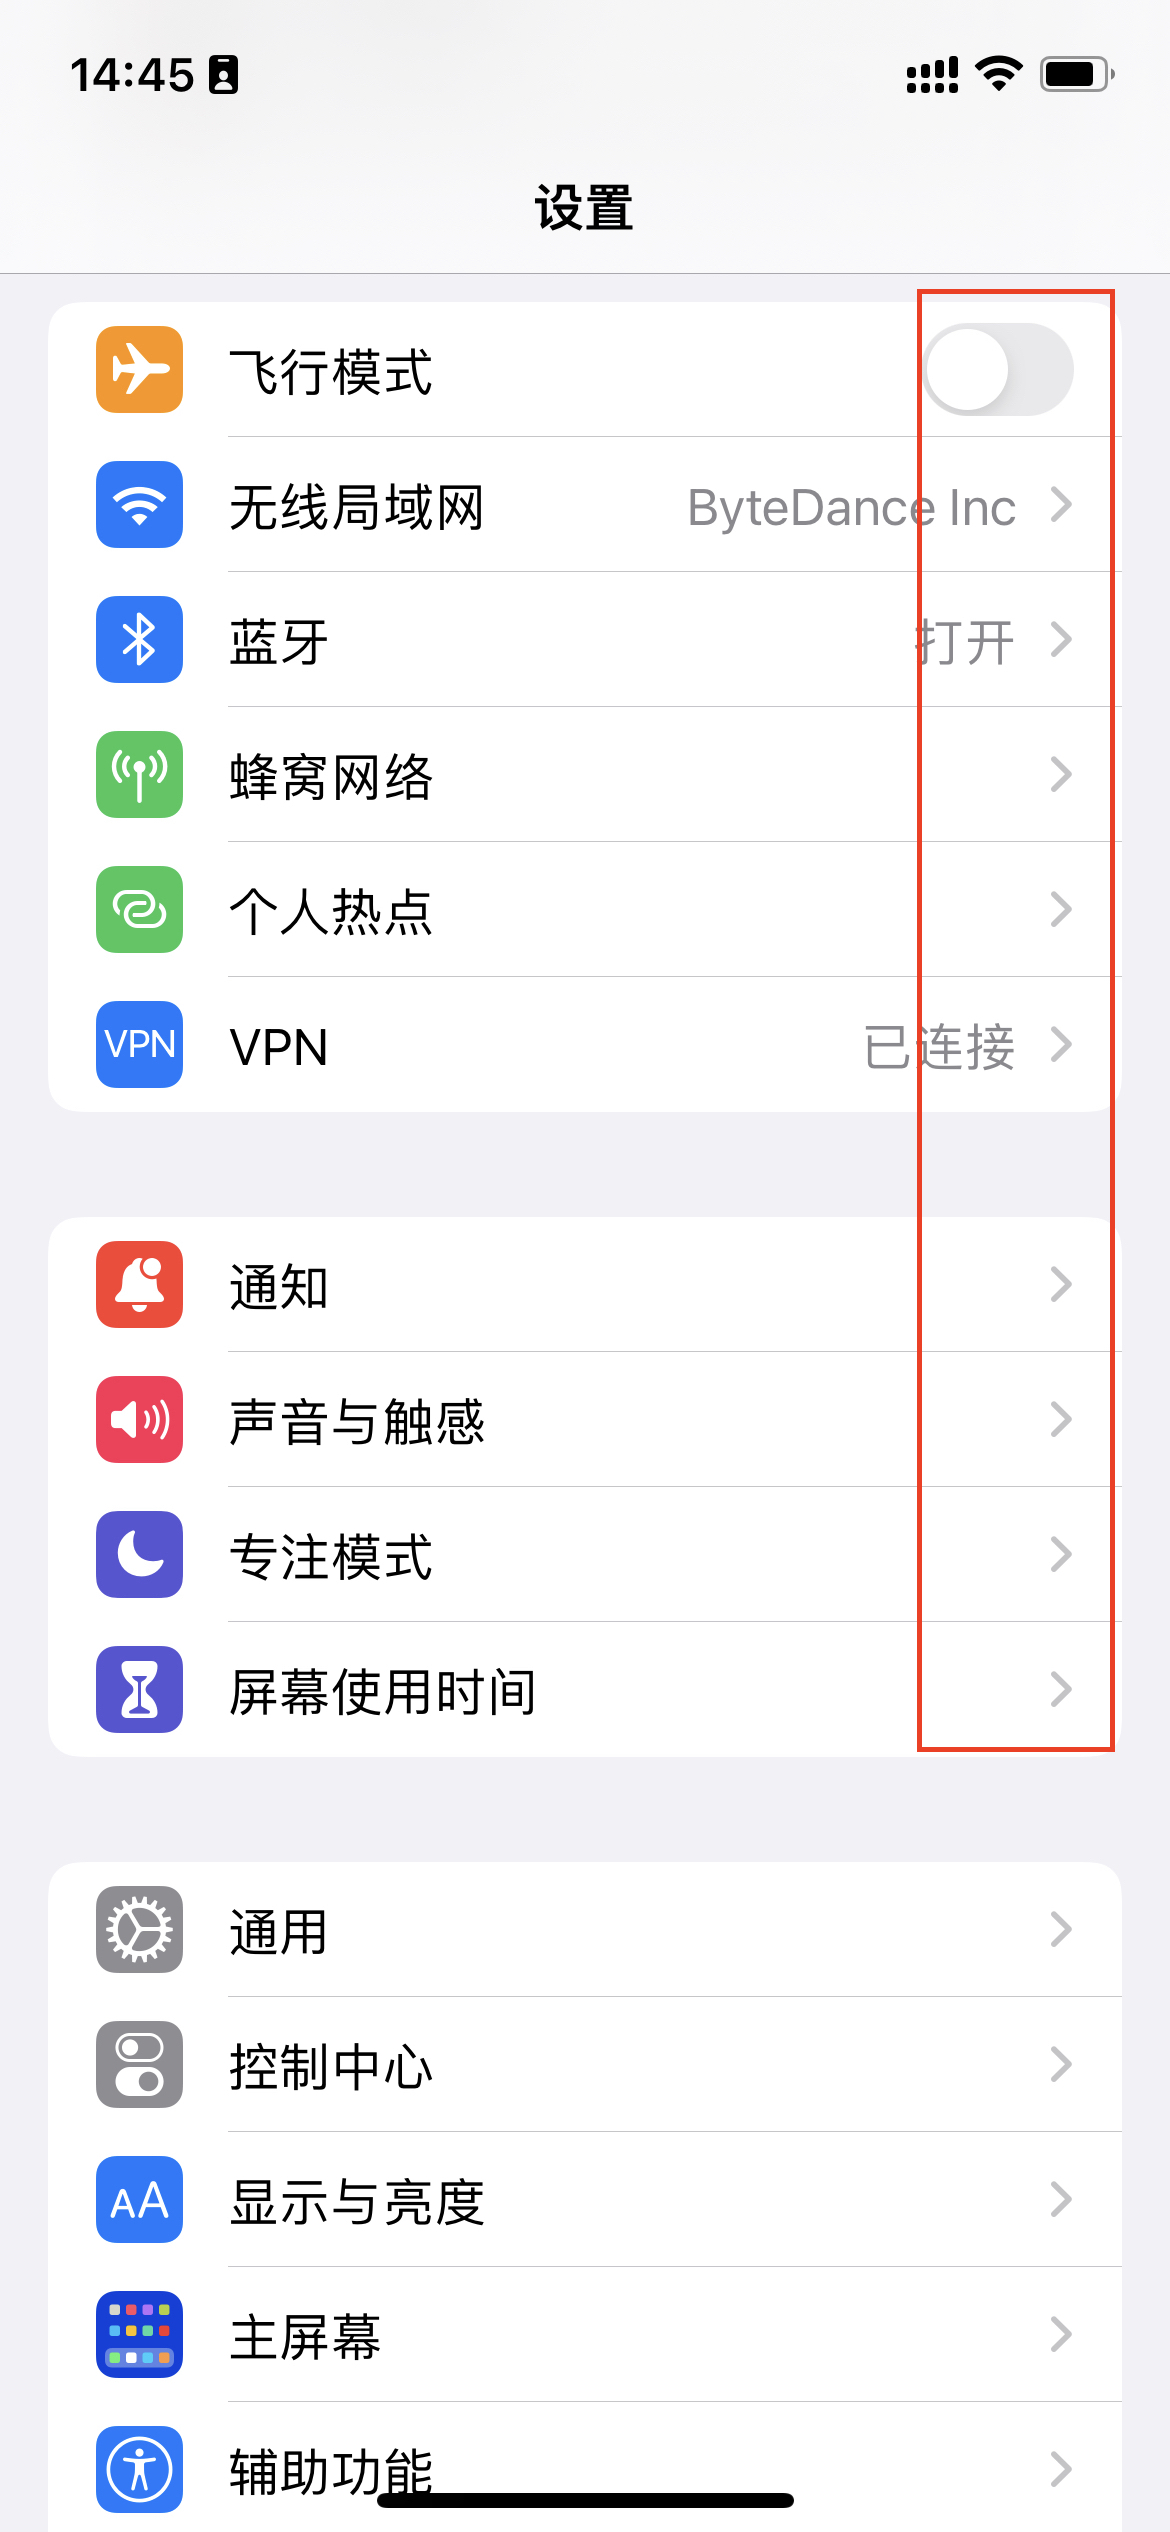
例如:iOS中「设置」就是典型应用
-
踩坑记录:
在iOS15中,如果使用UITableViewStylePlain样式建立TableView,如果给section添加一个header那么会出现一个现象,就是在这个header上方会出现一个空白区域。这个空白区域是由于在iOS15中UITableView中引入了一个新的属性sectionHeaderTopPadding,这个属性默认是22,如果不需要这块空白,改为0即可,代码如下:
1
2
3
4
5
6
let tableView = UITableView() if #available(iOS 15.0, *) { tableView.sectionHeaderTopPadding = 0 } else { // Fallback on earlier versions }
单元格Cell
UITableView的每行数据都是一个UITableViewCell:
-
每个Cell使用IndexPath来表示位置,换言之UITableView中的数据只有行的概念,没有列的概念
-
IndexPath又分为section和row,每个section为一组,其中可以包含多个行row。
关于Cell的重用
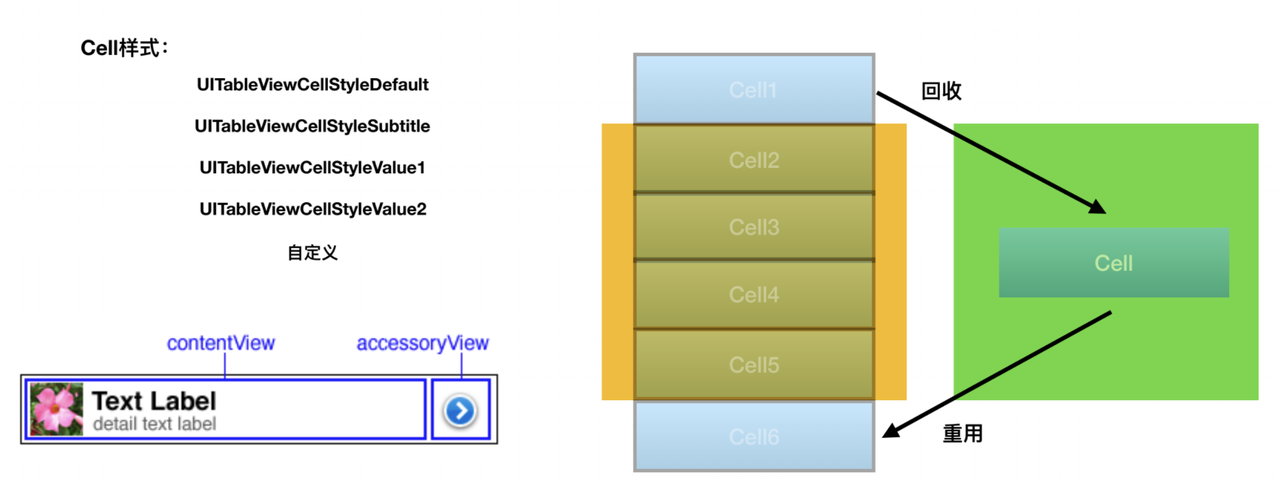
需要注意的是 TableView 必须使用重用机制 ,当cell滑出屏幕的时候 cell会被系统回收,在下面cell将要显示时会调用之前回收的cell,这样就不必每次都创建销毁,节省内存同时节省时间,如果不使用重用机制,每次都创建新的cell 是非常消耗内存和性能的
|
|
Cell的UI和布局
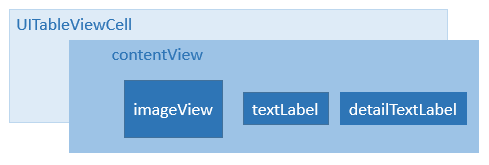
UITableView中每行数据都是一个UITableViewCell,在这个控件中为了显示更多的信息,iOS已经在其内部设置好了多个子控件以供开发者使用。如果我们查看UITableViewCell的声明文件可以发现在内部有一个UIView控件(contentView,作为其他元素的父控件)两个UILable控件(textLabel、detailTextLabel)、一个UIImage控件(imageView),分别用于容器、显示内容、详情和图片。
如果直接使用UITableViewCell则默认共有四种Style设定:
|
|
Cell的属性
accessoryView
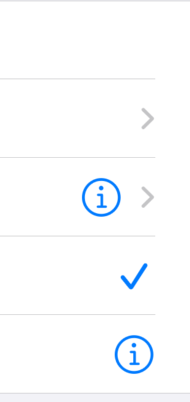
在contentView的右边,还有一个accessoryView,这个View是用来作为功能键使用,在iOS中称为访问器,支持显示不同的图标,点击可以触发不同的事件
这个View的设定是通过设置UITableViewCell中的accesoryType属性完成的:
|
|
默认情况如图所示:
Cell的分割线
|
|
隐藏部分Cell的分割线
因为TableView的风格设置是针对整个tableView的,如果设置myTableView.separatorStyle = .singleLine,则所有的cell都会有分割线,如果要隐藏部分cell的话就需要一点点小trick
在要显示cell的时候将cell的分割线inset左右各设为cell宽度的一半
|
|
Cell选中样式
|
|
UITableView的使用:
-
在controller中引入UITableView类型的变量,然后设置相应的数据源和代理:
1 2tableView.delegate = self tableView.datasource = self -
表格分组section的DataSource方法的调用时序:

DataSource数据源:需要在Controller引入UITableViewDataSource协议
-
返回表格视图的Section数:numberOfSections
1 2 3 4func numberOfSections(in tableView: UITableView) -> Int { // 返回section的数量 return 1 } -
设置 section中的row行的个数:
1 2 3 4func tableView(_ tableView: UITableView, numberOfRowsInSection section: Int) -> Int { // 返回Section中的row行数 return 1 } -
返回Section的头部View:
1 2 3 4func tableView(_ tableView: UITableView, viewForHeaderInSection section: Int) -> UIView? { // 返回对应Section的头部 return UIView() } -
返回Section的尾部View:
1 2 3 4func tableView(_ tableView: UITableView, viewForFooterInSection section: Int) -> UIView? { // 返回对应Section的尾部 return UIView() }
UITableViewDelegate:需要在Controller引入UITableViewDelegate协议
-
返回每个cell对应的行高:
1 2 3 4 5 6 7 8 9 10 11func tableView(_ tableView: UITableView, heightForRowAt indexPath: IndexPath) -> CGFloat { if indexPath.section == 0 { // section0 的cell行高为70 return 70 } else if indexPath.section == 1 { // section1 的cell行高为140 return 140 } // 默认行高 return 106 } -
返回Section头部的高度:
1 2 3 4 5 6 7 8 9func tableView(_ tableView: UITableView, heightForHeaderInSection section: Int) -> CGFloat { if section == 0 { return 0.01 } if (isShowUrlCell && section == 5) || (!isShowUrlCell && section == 4) { return 0.01 } return 8 } -
返回Section尾部的高度:
1 2 3func tableView(_ tableView: UITableView, heightForFooterInSection section: Int) -> CGFloat { return 0.01 } -
Cell的点击事件:
1 2 3 4 5 6 7 8 9func tableView(_ tableView: UITableView, didSelectRowAt indexPath: IndexPath) { if indexPath.section == 1 { // 针对section1操作 } else if indexPath.section == 2 { // 针对Section2操作 } else { // 默认操作 } }
UITableView的一些常规函数/功能使用
-
更新Cell,重新加载所有Cell
-
此方法可重新加载用于构建表格的所有数据,包括单元格、节页眉和页脚、索引数组等。为了提高效率,表格视图只重新显示那些可见的行。如果表因重新加载而缩小,它会调整偏移量。表视图的代理或数据源在它希望表视图完全重新加载其数据时调用此方法。不应在插入或删除行的方法中调用它,尤其是在通过调用和实现的动画块中
1tableView.reloadData()
-
-
Cell的左滑右滑
1 2 3 4 5 6 7 8 9 10 11// 从左向右滑动 func tableView(_ tableView: UITableView, leadingSwipeActionsConfigurationForRowAt indexPath: IndexPath) -> UISwipeActionsConfiguration? { let config = UISwipeActionsConfiguration(actions: [UIContextualAction(style: .normal, title: "点赞", handler: { _,_,_ in print("like") })]) return config } // 从右向左滑动 func tableView(_ tableView: UITableView, trailingSwipeActionsConfigurationForRowAt indexPath: IndexPath) -> UISwipeActionsConfiguration? { let config = UISwipeActionsConfiguration(actions: [UIContextualAction(style: .destructive, title: "删除", handler: {_,_,_ in print("delete")})]) return config }
-
iOS中会对scrollview进行显示优化,以避免在安全区域显示,这里给出如何设置不自动调整位置
1 2// 设置为.never即可让tableview的显示覆盖安全区域 tableView.contentInsetAdjustmentBehavior = .never